|
||||||||||||||||||||||||||||||||||||||||||||||||||||||||||
Here are some tips for using postcardCafe Atelier conveniently. |
||
Change Contacts.app. |
||
Save the contents of card creation. You can load the saved file and proceed with work. |
||
 |
||||
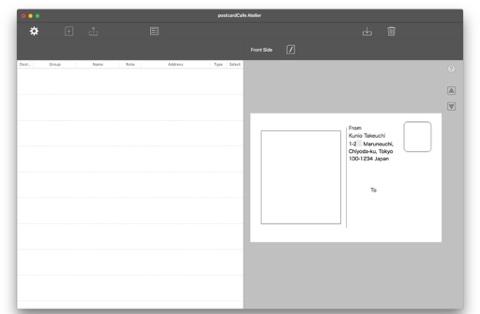
The address and name are fictitious. |
||||
Using a shared iCloud Drive, you can print on another Mac that is well-equipped with printing environment. |
||
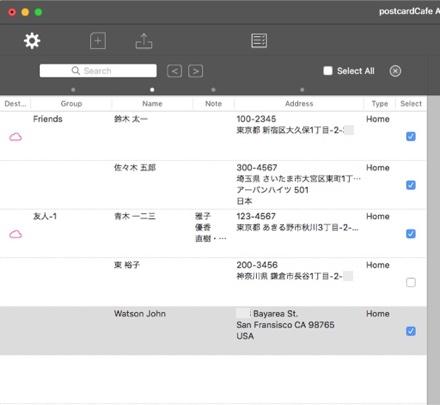
If you want to exclude from the print target, uncheck the "select" column of the address book. By turning off the check, it is excluded from printing targets. |
||
 |
||
The address and name are fictitious. |
||
Edit the Image or Memo Which Became the Back of the Letter View |
||||
Click the "Hide Text" button in the upper right corner of the back side edit view. Temporarily hide the letter view. You can edit images and memos. |
||
 |
||
Choose "Print Address Book" from the "File" menu. The print panel is displayed and you can print. |
||
Depending on the type of printer, when printing on the back side with "Postcards Borderless", the borderless printing may not be performed correctly. |
||
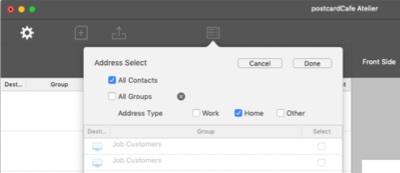
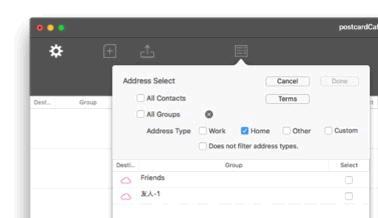
To take in an address that is not registered in the group, select "All Contacts". |
||
 |
||
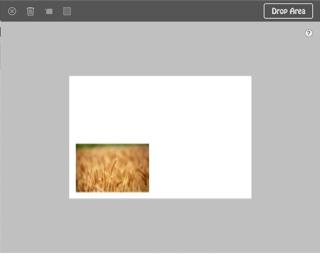
To draw the captured image without bordering the entire back side, right click on the image and select "Send to Background" from the menu displayed. "Resize" in the menu can not be enlarged to the paper size. |
||
 |
 |
|||
To hide the sender information when printing, click "Hide sender information" in the front-side edit view. |
||
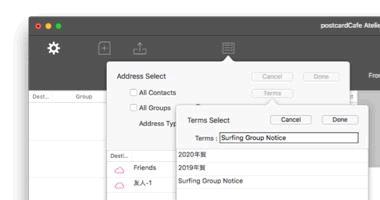
Functions equivalent to smart group can be used. Since macOS 13 "Ventura", this functions can no longer be used. |
||
 |
||
 |
||
Copyright © 2021 in-bluesky. All rights reserved. |
||