previouspagen nextpagen
Home Overview How to use Support About Japanes English

Quick Start Guide

Back Side Editing

Search

Usage Tips

Button Description

Background Setting

Sort of Address Book

Apply Contacts.app Change

Start-Up

Message Entry and Editing

Share (Attach to e-mail)

Create a Template

Card Creation

Image Attachment and Editing

Exporting This Card

Utilize iCloud Drive

Postcard Type Selection

Memo Attach and Edit

Select Stamp

Exclude from Print Target

Setting of Address Field

Grouping

Preferences

Edit the Image or Memo Which Became the Back of the Letter View

Font Setting

Attach an Image to Letter View

Sender Information Format

Printing the Address Book

Create Sender Information

Back side Editing for Each Card

Postcard Options

Borderless Printing

Create Address Book

Enter Text on Front Side

Honorific Title Option

Import Addresses that are Not Registered in the Group

Front Side Editing

Print

Default Honorific Title

Draw an Image on the Entire Back Side

Recipient Address Edit

Save

Customize Honorific Title

Hide the Sender's Address and Name

Sender Address Edit

Load Data

Print Scale Adjustment

Smart Group

Postcard Information Editing

Delete

Preferences

Clike the button.

toTopen2
image110

Sender Information Format
Set the format of the sender information to English only.


Postcard Option
If your Mac language and regional information is not in Japan, make it possible to use a vertical postcard.


Address Format for "Contacts.app"
Available only in Japanese.

Honorific Title Option

toTopen2a

Defaults Honorific Title
Set the default honorific title.

Customize Honorific Title
Adding a new honorific title.

image111 image112

Print Scale Adjustment

toTopen2a1

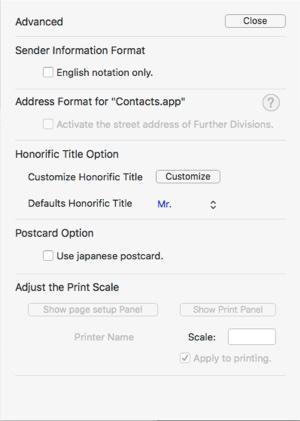
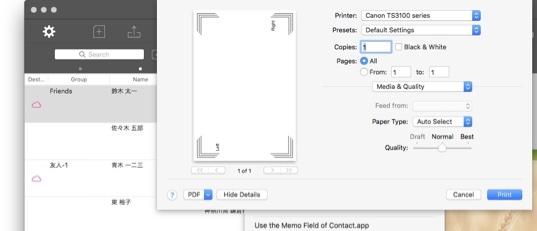
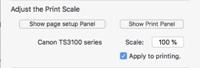
Depending on the type of printer, it may not be possible to print correctly with "scale "100%". In this case change the scale.

How to use.

Prepare a postcard size dummy paper or several unnecessary postcards.
Set the target printer to postcard printing and set the post card.
Click "Show Page Setup Panel" to display the page setting panel.
Set the target printer and paper size "postcards borderless" or "Postcard".
 

Then, click the "Display Print Panel" button to display the print panel.
A marker sheet that matches the selected postcard style is selected and becomes printable.
Print it.

Make sure each marker is printed correctly at the four corners.
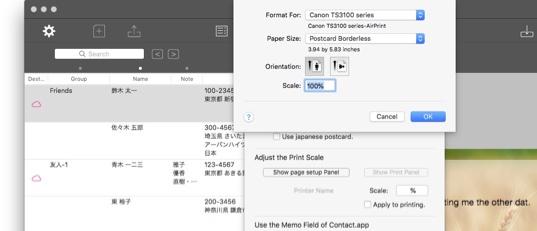
If it is not printed correctly, display the page setting panel again and change the scaling scale.
If the markers at the four corners are protruding, set the scale to small (to 100% or less) and if the marker is inside it increase the scale (100% or more).
Please print again and confirm.

image113

Page Set-Ip Panel

The address and name are fictitious.

image114

Print Panel

The address and name are fictitious.

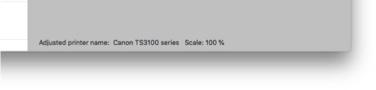
Repeat this operation several times to find the scale that suits your printer.
When the optimum scale is found, set the scale and check "Apply to printing".
This scale will be applied when postcard printing is done.
The adjusted printer name and scale are displayed at the bottom of the master view.

image115 image116
toTopen2a1a

Copyright © 2021 in-bluesky. All rights reserved.