previouspagen nextpagen
Home Overview How to use Support About Japanes English

Quick Start Guide

Back Side Editing

Search

Usage Tips

Button Description

Background Setting

Sort of Address Book

Apply Contacts.app Change

Start-Up

Message Entry and Editing

Share (Attach to e-mail)

Create a Template

Card Creation

Image Attachment and Editing

Exporting This Card

Utilize iCloud Drive

Postcard Type Selection

Memo Attach and Edit

Select Stamp

Exclude from Print Target

Setting of Address Field

Grouping

Preferences

Edit the Image or Memo Which Became the Back of the Letter View

Font Setting

Attach an Image to Letter View

Sender Information Format

Printing the Address Book

Create Sender Information

Back side Editing for Each Card

Postcard Options

Borderless Printing

Create Address Book

Enter Text on Front Side

Honorific Title Option

Import Addresses that are Not Registered in the Group

Front Side Editing

Print

Default Honorific Title

Draw an Image on the Entire Back Side

Recipient Address Edit

Save

Customize Honorific Title

Hide the Sender's Address and Name

Sender Address Edit

Load Data

Print Scale Adjustment

Smart Group

Postcard Information Editing

Delete

Image Attachment and Editing

toTopen2

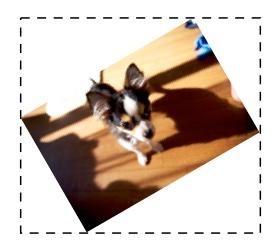
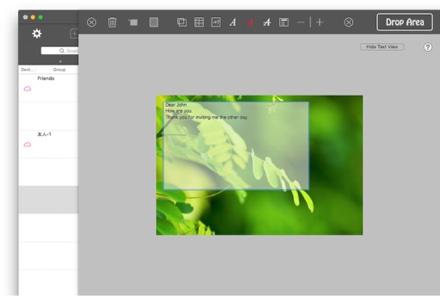
Up to 5 images can be captured and placed freely. Drag and drop your favorite photo to "Drop area".
Support movement and resizing.
Supports changing the border and corner rounding.
Supports right rotation, left rotation, 180 degree rotation, free rotation.
Supports change of overlap. Double click to move to the front, triple click to move to the back.

image77

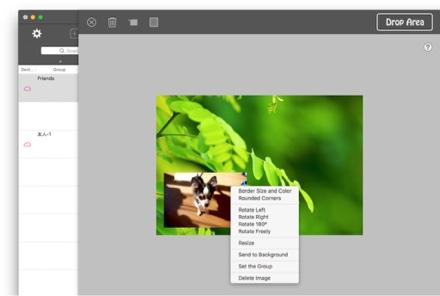
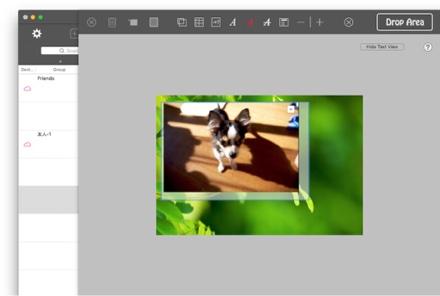
Resize

Right-click the attached image.
Select "Resize" from the displayed menu.
The image becomes translucent.

image78

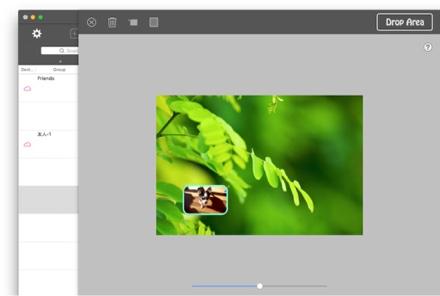
To resize, drag the translucent image.
Click the background or image to finish resizing.

image79

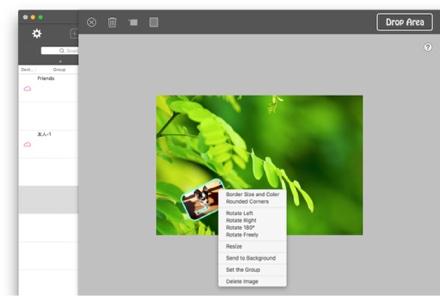
Border Setting

Right-click the attached image.
Select "Border size and color" from the displayed menu.
The border setting view is displayed.
Select border size and border color. The border is set.

image80

Rotation

Right-click the attached image.
Select "Rotate ..." from the displayed menu. The image rotates.


If you select "Free Rotation", a slider will appear below the back-side edit sheet.

image81

Slide the slider to free rotation.
Click the background or the image to finish.

Memo Attach and Edit

toTopen2a

Up to five notes can be attached and you can place them freely.
Supports font, font size, font color editing.
Supports right rotation, left rotation, 180 degree rotation, free rotation.
Supports change of overlap. Double click to move to the front, triple click to move to the back.

image82

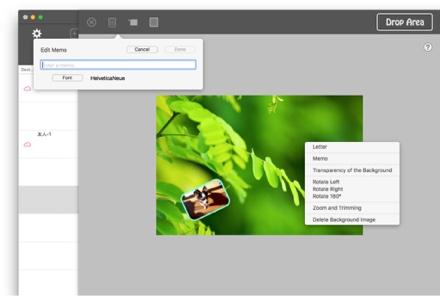
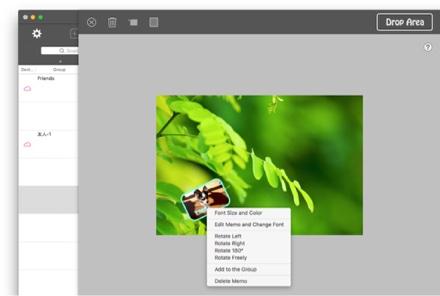
Memo Attached

Right click the background.
Select "Memo" from the displayed menu.
The memo edit view is displayed.
Enter a memo. To change the font click the "font" button. Select a font from the displayed font list.

image83

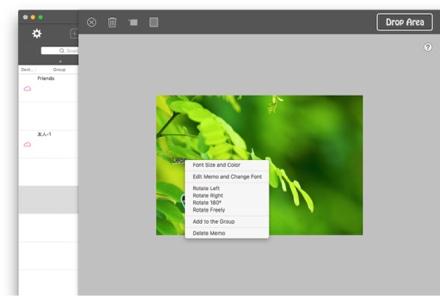
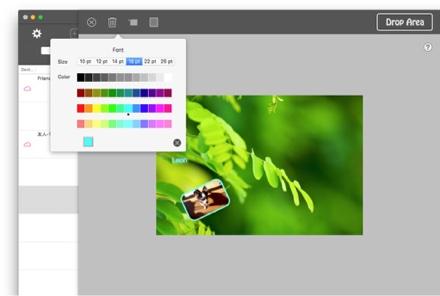
Change Font Size and Font Color

Right-click the attached font.
Select "Font Size and Color" from the displayed menu.

image84

Select font size and font color in the displayed font view.
It applies to attached memo.

image85

Rotation

Right-click the attached font.
Select "Rotate ..." from the displayed menu. The memo rotates.

If you select "Free Rotation", a slider will appear below the back side edit sheet.
Slide the slider to rotate freely.
Click the background to end.

Grouping

toTopen2a1

Multiple attached images and memos can be grouped. Grouped images and notes can move freely as a single object.

image86

Set Group

Specify the group image to become the master.
Right click the image. Select "Set the Group" from the displayed menu.

image87

Add Group

Add a group to become a slave.
Right-click the image or memo.
Select "Add to Group" from the displayed menu.

Grouped images and memos can be moved as one object.
Note: You can not edit (resize, rotate, change font) grouped images or memos. If you edit it, the group will be canceled.

To cancel a group, select "Release the Group" or "Release from the Group" from the menu displayed by right clicking.

image88

Slave images and memo must be placed in the master's image.
If the image of the master is freely rotated, it must be located within the dotted line shown on the left.

Attach an Image to Letter-View

toTopen2a1a

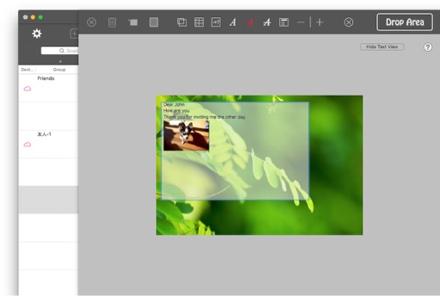
Images can be attached to Letter-View. Copy and paste or drag and drop the image you want to attach to Letter-View. It is attached to the place where the caret is placed. Image size is automatically adjusted.
Double click on the image if you want to resize it further.

image89

Position the caret at the position where you want to attach the image.

image90

Copy and paste or drag and drop the image to be attached to the Letter-View.
The image size is automatically adjusted to the width of the letter view.

image91

The attached image can be resized to the size of your choice. Double click on the image to resize. The resize tool will be displayed.

image92

W / H: Enter the width or height of the image you want to resize. After inputting, confirm with the return key. Apply button and preview button will be available.

image93

Apply Button: Resizes the image and closes the resize tool.

Preview Button: The resized image is displayed. You can continue to use the resize tool. You can check the resize result.
If you exit without applying the resize result after preview, you will return to the original image.

toTopen2a1a1

Copyright © 2021 in-bluesky. All rights reserved.