|
||||||||||||||||||||||||||||||||||||||||||||||||||||||||||
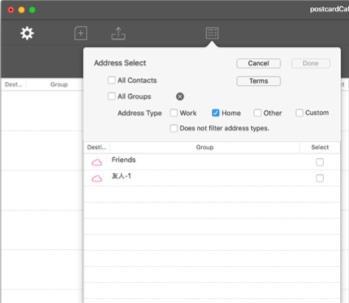
Click the |
||||||
The group is imported from the Contacts.app. Check "Select" for the required group. The address contained in the checked group is incorporated. By selecting "All contacts", you can also import addresses that are not registered in the group. If necessary, select the type of address “Home", “Work", “Other" and "Custom". |
||
 |
 |
|||
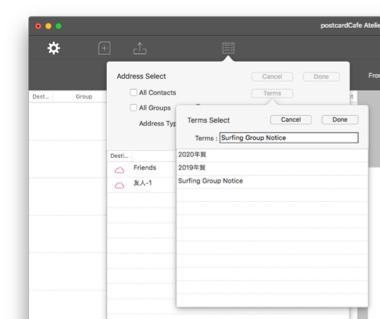
Functions equivalent to smart groups can be used. Click the Condition button. A list of notes written in the memo column of "Contact.app" is displayed. Select a condition from the list and click the "Finish" button. The Address Type selected in the Select Address view is valid. |
||
 |
||
 |
||||
Destination
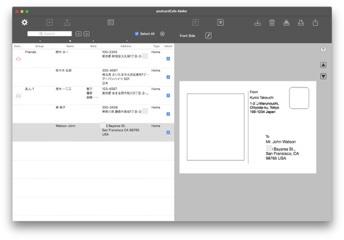
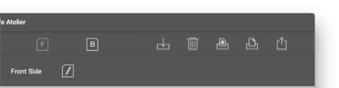
Printing the Address Book |
||||
The address and name are fictitious. |
||
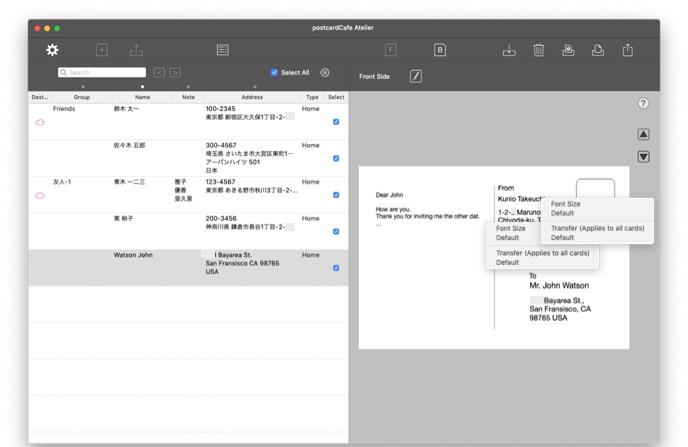
Edit recipient information, sender information and postcard information. |
||
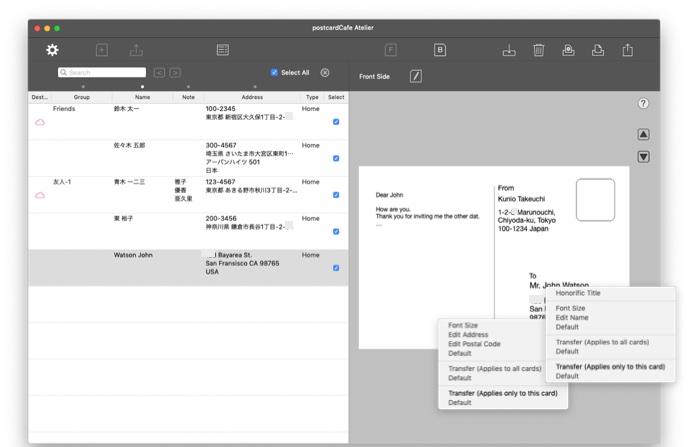
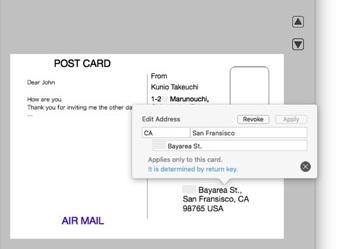
Right-click the recipient's address and name fields to display the Edit menu. |
||
 |
||||
The address and name are fictitious. |
||||
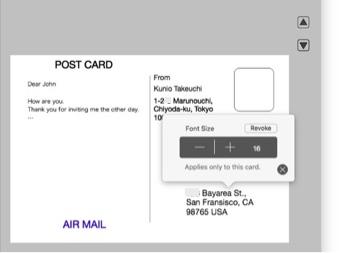
Recipient Address Field Edit font size. |
Recipient Address Field Edit address. |
|||
 |
 |
|||||||
The address and name are fictitious. |
||||||||
The address and name are fictitious. |
||||||||
 |
||||||||
 |
||||||||
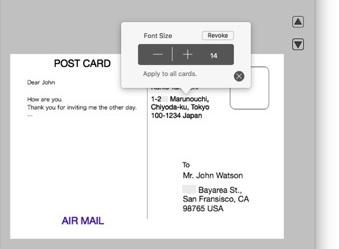
Change the font size. It can not be larger than the frame. |
Change the address. The font size is automatically adjusted. |
|||
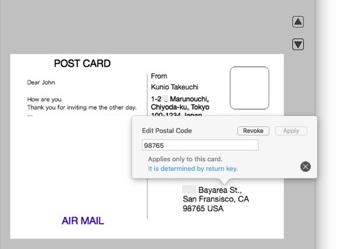
Recipient Address Field Edit postal code. |
||||
|
||||
The address and name are fictitious. |
||||
 |
||||
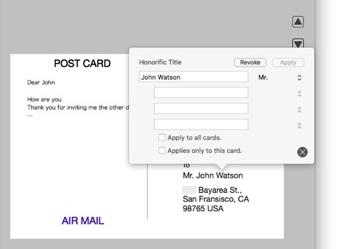
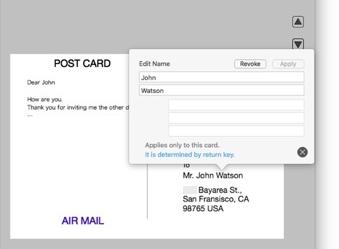
Recipient Name Field Honorific titles edit. |
||
 |
|
|||||||
The address and name are fictitious. |
The address and name are fictitious. |
|||||||
 |
 |
|||||||
Set a honorific title. Choose a honorific title from the list of honorific titles. You can choose whether the set honorific title is applied only to this card or to all cards. |
||
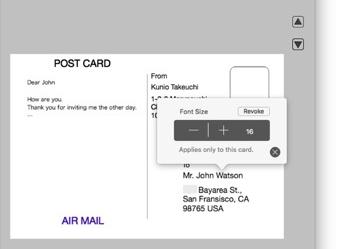
Recipient Name Field Edit font size. |
Recipient Name Field Edit name. |
|||
 |
|
|||||||
The address and name are fictitious. |
The address and name are fictitious. |
|||||||
 |
 |
|||||||
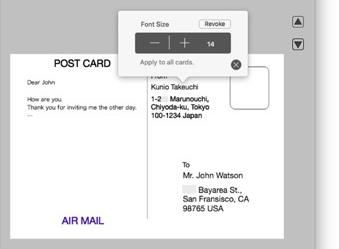
Change the font size. It can not be larger than the frame. |
Change name. The font size is automatically adjusted. |
|||
Transfer recipient's name and address fields. Click transfer (apply to all cards) or Transfer (apply to this card only). There is a limit on the amount of movement. |
||
Right click on the address column, name column of the sender, the edit menu will be displayed. |
||
 |
||||
The address and name are fictitious. |
||||
Sender Address Field Edit font size. |
Sender Name Field Edit font size. |
|||
|
|
|||||||
The address and name are fictitious. |
The address and name are fictitious. |
|||||||
 |
 |
|||||||
Change the font size. It can not be larger than the frame. |
Change the font size. It can not be larger than the frame. |
|||
Transfer the sender's name and address fields. Click transfer (apply to all cards) . There is a limit on the amount of movement. |
||
Click the |
||||||
Edit the information of the sender, the style of the address field, and the font. |
||
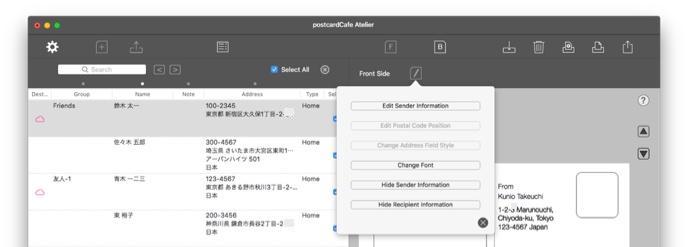 |
||
The address and name are fictitious. |
||
Click the |
||||||
The back side view can capture your favorite photos and place them freely, or set the background image. You can write notes and messages freely. |
||
Set the captured image as the background. You can change the rotation, zoom, cropping, transparency of the set background image. |
||
Drag and drop your favorite photo to "Drop area". Right click on the captured image. |
||
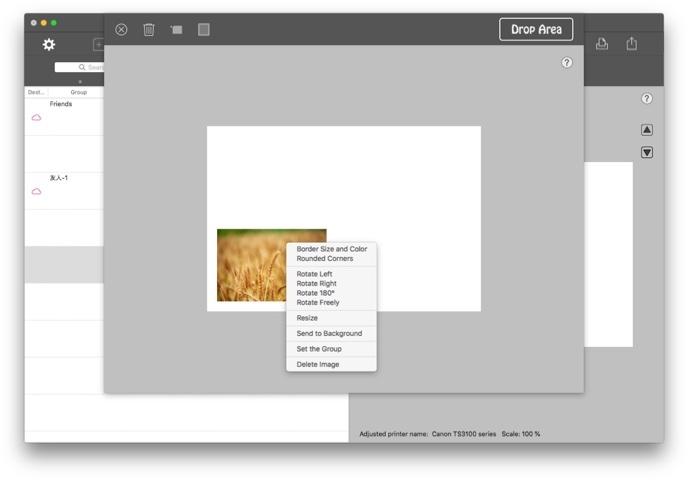 |
||
Right-click the set background image. The menu for editing the background image is displayed. |
||
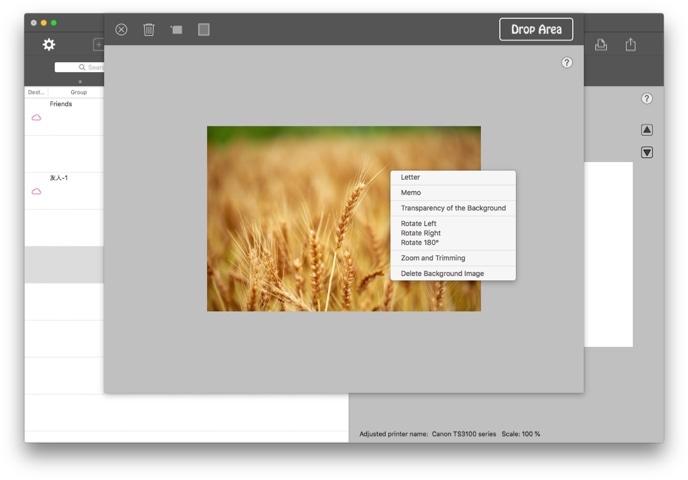 |
||
Copyright © 2021 in-bluesky. All rights reserved. |
||