|
||||||||||||||||||||||||||||||||||||||||||||||||||||||||||
 |
||||
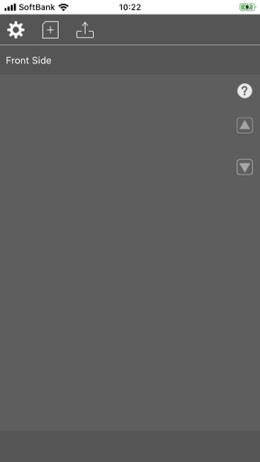
1. Create a card. Tap the |
||||
 |
||||
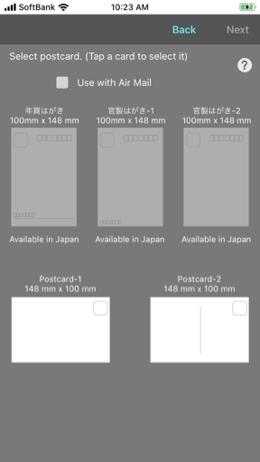
2. Select a postcard. Tap to select the postcard you want to create. |
||||
 |
||||||
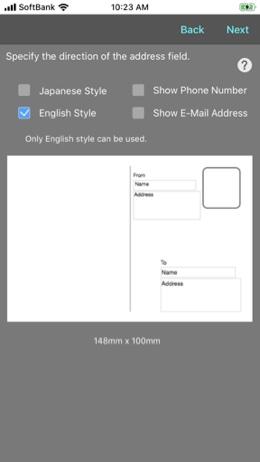
3. Set the address field direction. Tap the "Next" button. |
||||||
 |
||||
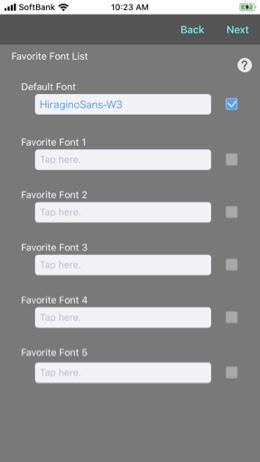
4. Set the font. Tap the "Next" button. |
||||
 |
||||||
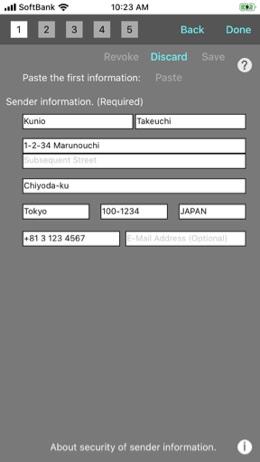
5. Set and save sender information. When starting for the first time, a dialog requesting registration of sender information will be displayed. |
||||||
The address and name are fictitious. |
||
 |
||||
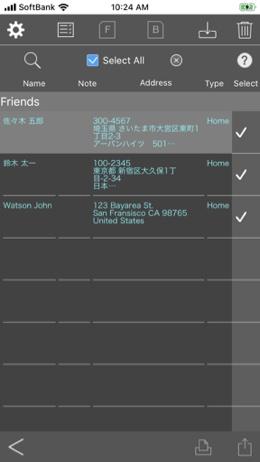
6. Create an address book. Tap the The template saves this state. |
||||
The address and name are fictitious. |
||
 |
||||||
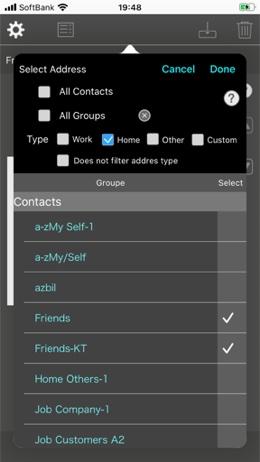
7. Select a group. Select a group and tap the "Done" button. If you select "All contacts", you can also import addresses that are not registered in the group. |
||||||
 |
||||
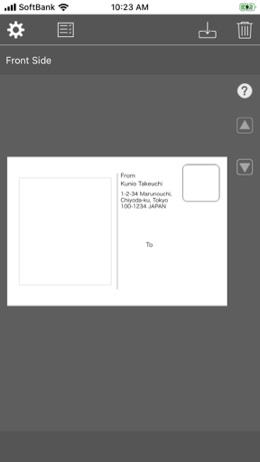
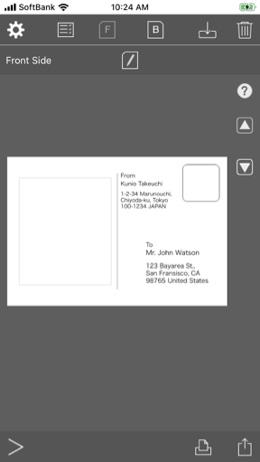
8. Show front side. Tap the address book cell or tap the |
||||
The address and name are fictitious. |
||
 |
||||||
9. Create the back side. Tap the Tap the Print if you don't need the back side. |
||||||
The address and name are fictitious. |
||
 |
||||
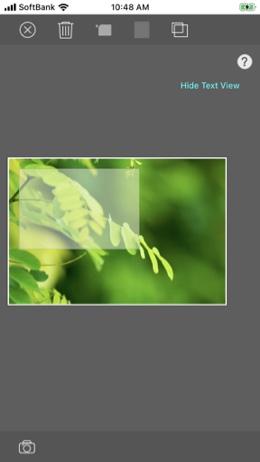
10. Edit images, memo and messages. The back side edit sheet is displayed. Tap the Tap the |
||||
 |
||||||
11. Prepare for printing. Tap the |
||||||
The address and name are fictitious. |
||
 |
||||
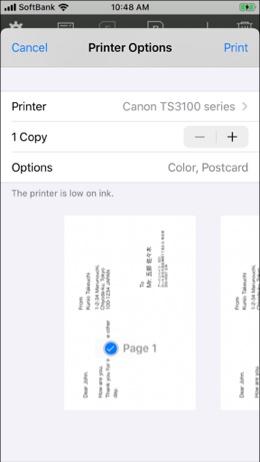
12. Start printing. When the print preparation is completed, the print panel is displayed. The paper must be set on the printer side. |
||||
The address and name are fictitious. |
||
Copyright © 2022 in-bluesky. All rights reserved. |
||