|
||||||||||||||||||||||||||||||||||||||||||||||||||||||||||
Tap the |
||
 |
||||
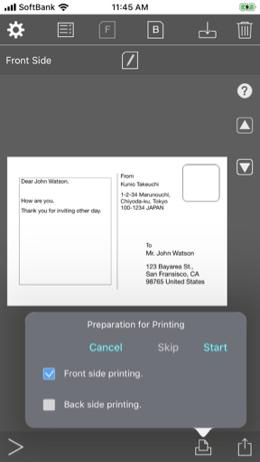
Tap the “Front side printing” button to print the front side. |
||||
The address and name are fictitious. |
||
 |
||||
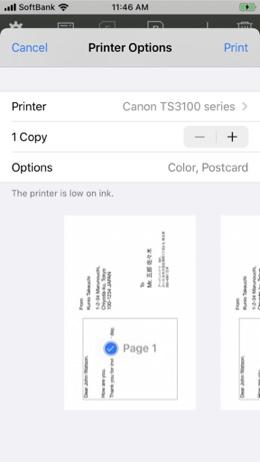
Tap "Printer" and select the printer to use. |
||||
The address and name are fictitious. |
||
Tap the |
||
 |
||||
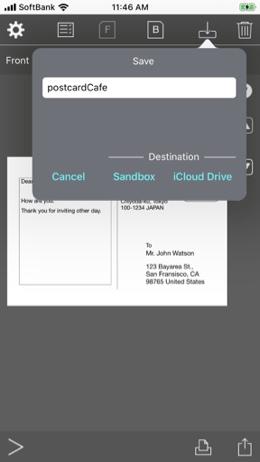
Tap the field and enter a file name. The file extension is added automatically. |
||||
The address and name are fictitious. |
||
Tap the |
||
 |
||||
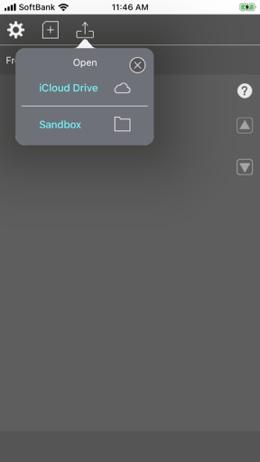
Tap the “iCloud Drive” button. The standard file .app opens. |
||||
 |
||||||
Load from iCloud Drive. |
||||||
 |
||||
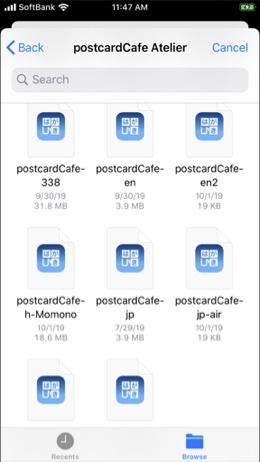
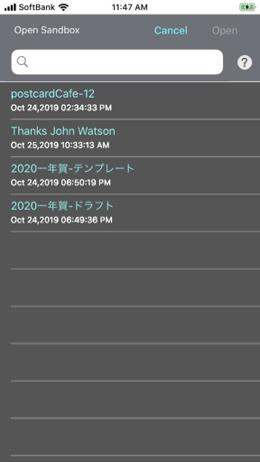
Sandbox file selection sheet. Load from Sandbox. To delete a file, swipe the cell to the left. Tap "Delete" button. To search, tap the search field. Search characters can be entered. Tap the “Search” key on the keyboard. Note: The file list cannot be sorted. |
||||
Tap the |
||
 |
||
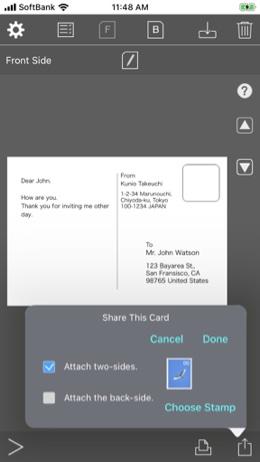
Attach the card displayed using the sharing function to an email. Note: When New Year's card is selected for postcard type, a stamp for New Year's card is displayed. When a general postcard is selected, a general postcard stamp is displayed. (When using Japanese postcards.) |
||
 |
||||
Tap the “Attach two-sides” button to attach the front and back sides. |
||||
The address and name are fictitious. |
||
 |
||||
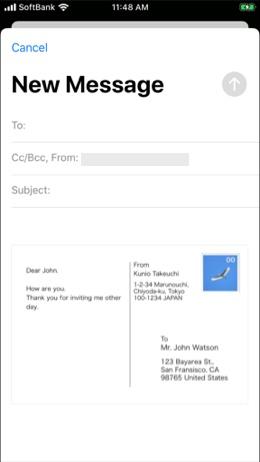
Tap the email. The standard mail view is displayed. |
||||
The address and name are fictitious. |
||
 |
||||
Mail can be sent. |
||||
The address and name are fictitious. |
||
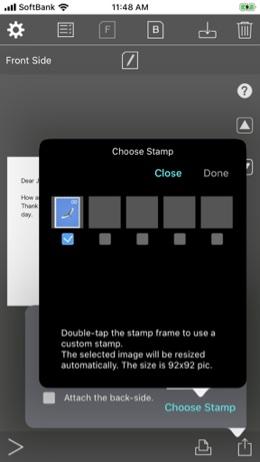
Select a stamp. Custom stamps can be registered. |
||
 |
||||
Tap the “Choose Stamp” button. |
||||
The address and name are fictitious. |
||
Copyright © 2022 in-bluesky. All rights reserved. |
||