|
||||||||||||||||||||||||||||||||||||||||||||||||||||||||||
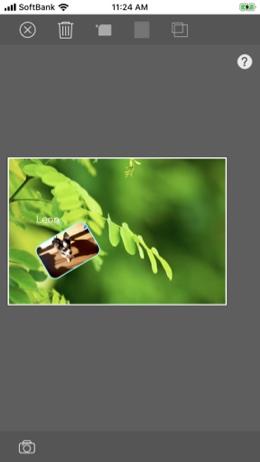
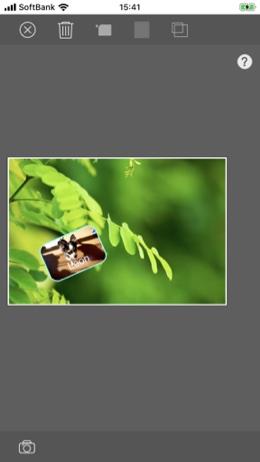
Up to 5 images can be captured and placed freely. Import from photo library and camera. |
||
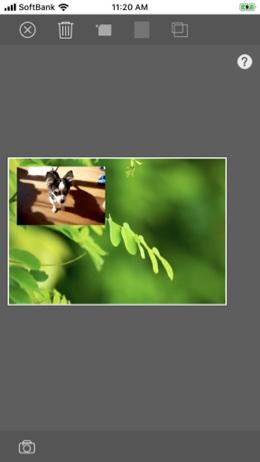 |
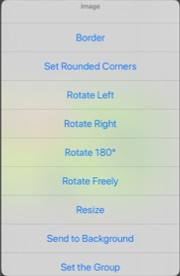
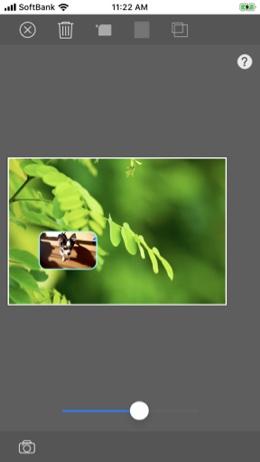
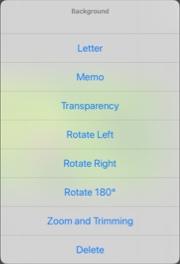
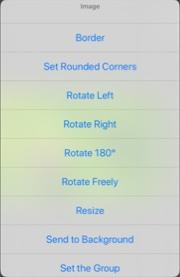
Edit the Image |
|||||
 |
||||||
 |
||||||
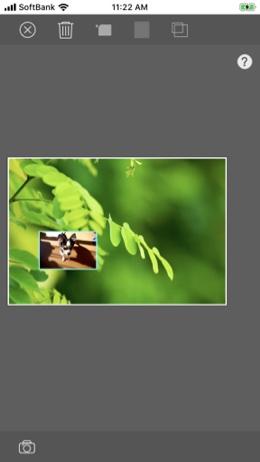
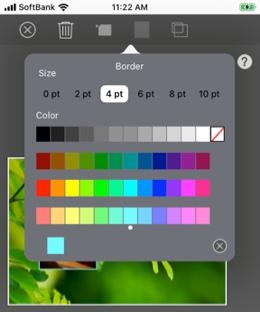
Select "Resize" from the displayed menu. |
||||||
 |
Set Border |
|||||
 |
||||||
 |
||||
Set Rounded Corners of Image |
||||
 |
||||||
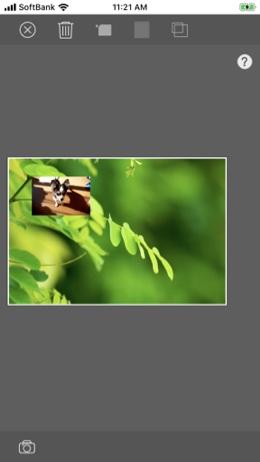
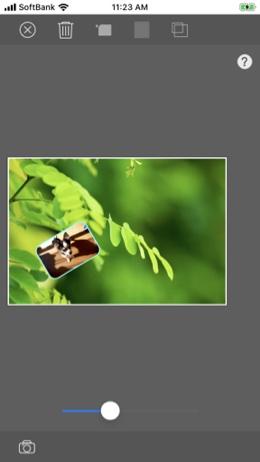
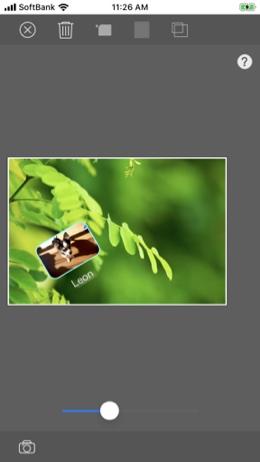
Rotation When “Free Rotation” is selected, a slider is displayed below the back side editing sheet. Can be rotated with a slider. |
||||||
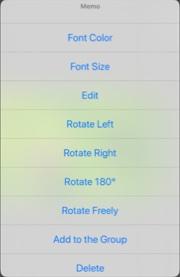
Up to 5 memos can be attached and placed freely. |
||
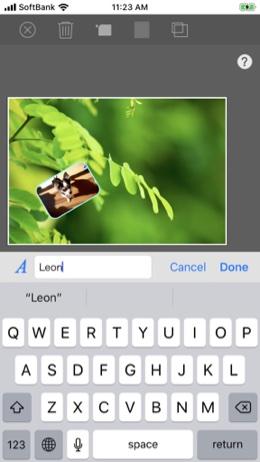 |
Memo To change the font, tap the |
|||||
 |
||||||
 |
Edit Memo |
|||||
 |
||||||
 |
||||||
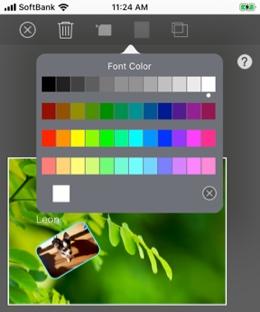
Change Font Color |
||||||
 |
||||
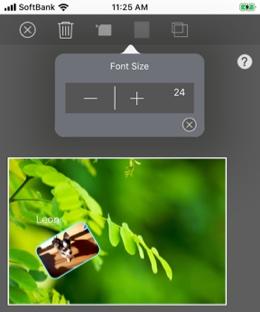
Change Font Size |
||||
 |
||||
Rotation When “Free Rotation” is selected, a slider is displayed below the back side editing sheet. Can be rotated with a slider. |
||||
Multiple attached images and memos can be grouped. Grouped images and notes can move freely as a single object. |
||
 |
Set Group |
|||||||
 |
|
|||||||
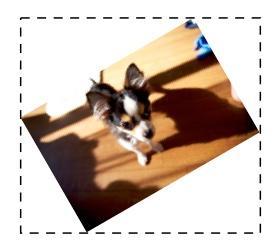 |
Note: Grouping will be canceled if you rotate or resize. Note: If the master image was freely rotated, it must be placed within the dotted line shown in the left figure. |
|||
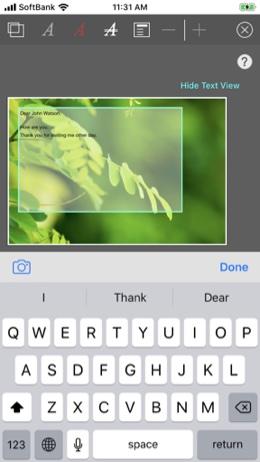
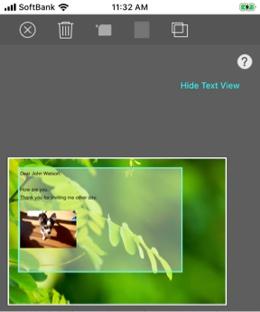
Letter view can be attached with an image. Import from photo library and camera. |
||
 |
||||||
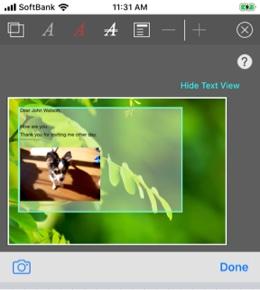
Get Image The image size is automatically resized. |
||||||
 |
||||||
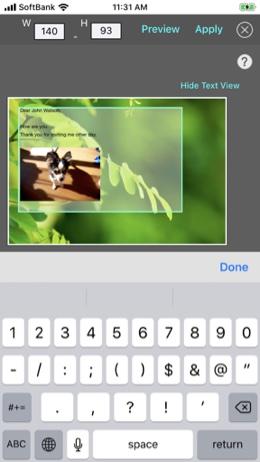 |
Resize W / H: Enter the width or height of the image you want to resize. Apply button: The image is resized and the resize tool is closed. |
|||||
 |
||||||
Copyright © 2022 in-bluesky. All rights reserved. |
||