|
||||||||||||||||||||||||||||||||||||||||||||||||||||||||||
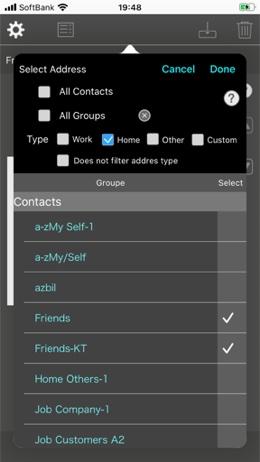
Tap the The group is imported from the Contacts.app. Check "Select" for the required group. The address contained in the checked group is incorporated. If necessary, select the type of address “Home", “Work", “Other" and "Custom". Select a Group Select “All Contacts” Select “All Groups” Deselect Group Specify Address Type |
||
 |
|||||
 |
|||||
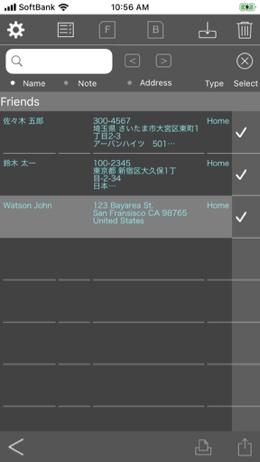
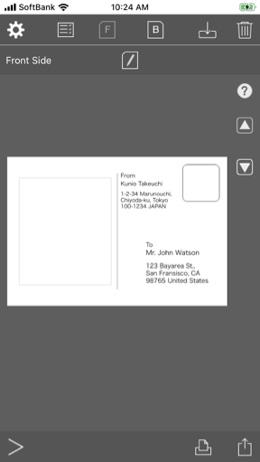
The address and name are fictitious. |
|||||
Address Book |
||||
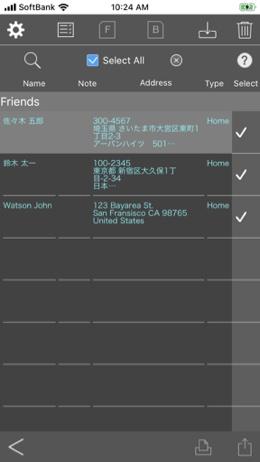
It is an address book taken from Contacts.app. Choose an Address Select all Addresses Deselect Address Display Postcard Search |
||
 |
||||
 |
||||
The address and name are fictitious. |
||||
The address and name are fictitious. |
||||
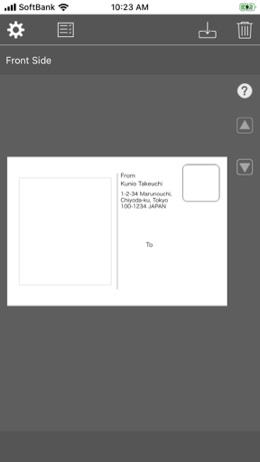
Postcard information (postal code location, address style, sender information, etc.) can be changed. |
||
 |
||
The address and name are fictitious. |
||
Long-tap "Recipient address field" or "Recipient name field". Note: Your edits will not be fed back to your address book and contacts.app. |
||
 |
||||
Font size: Cannot be enlarged beyond the frame. Move recipient address field Default: Returns to the initial value. |
||||
Change Font Size (Recipient address) |
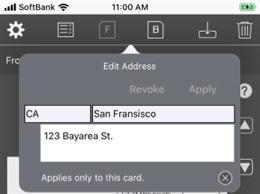
Change Address (Recipient address) |
|||
 |
 |
|||
The address and name are fictitious. |
||||
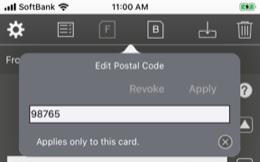
Change Postal Code (Recipient address) |
||||
 |
||
 |
||||
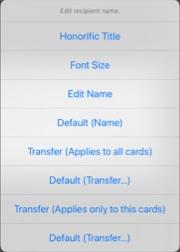
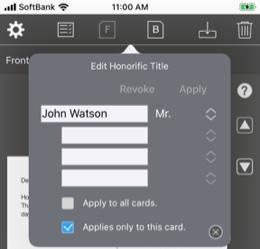
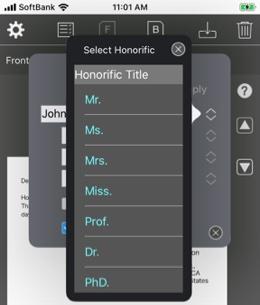
Honorific Title: Edit the honorific title. Move recipient name field Default: Returns to the initial value. |
||||
Change Honorific Title (Recipient name) |
||
 |
 |
||||
The address and name are fictitious. |
|||||
The address and name are fictitious. |
||
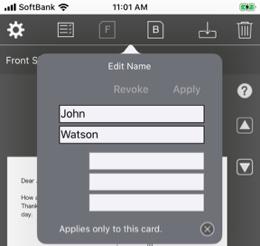
Change Font Size (Recipient name) |
Change Name (Recipient name) |
|||
 |
 |
|||
The address and name are fictitious. |
||
Long-tap "Sender address field" or "Sender name field". |
||
 |
||||
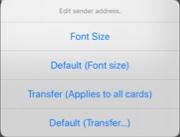
Font size: Cannot be enlarged beyond the frame. Move sender address field Default: Returns to the initial value. |
||||
Change Font Size (Sender address) |
||
 |
||
 |
||||
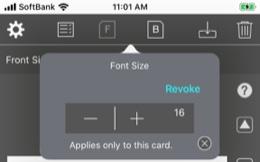
Font size: Cannot be enlarged beyond the frame. Move sender name field Default: Returns to the initial value. |
||||
Change Font Size (Sender name) |
||
 |
||
Tap the Tap the “Edit Sender Information” button. Tap the “Edit Postal Code Position” button. (Japanese postcard only.) Tap the "Change Address Field Style" button. (Japanese postcard only.) Tap the “Change Font” button. Tap the "Hide Sender Information" button. Tap the "Hide Recipient Information" button. |
||
 |
||
The address and name are fictitious. |
||
Tap the Tap the |
||
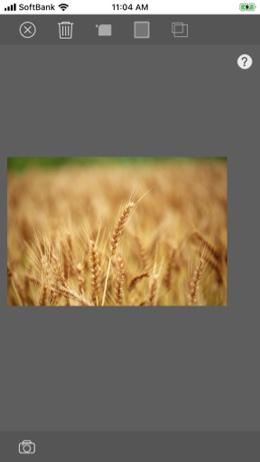
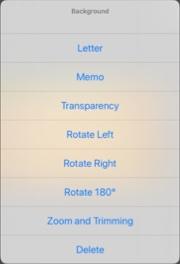
Set the captured image as the background. You can change the rotation, zoom, cropping, transparency of the set background image. Attach Image |
||
 |
||||
 |
||||
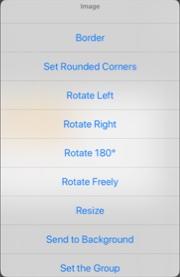
Long-tap the set background image. The background image editing menu appears |
||
 |
||||
 |
||||
Tap the Tap the |
||
Copyright © 2022 in-bluesky. All rights reserved. |
||