|
||||||||||||||||||||||||||||||||||||||||||||||||||||||||||
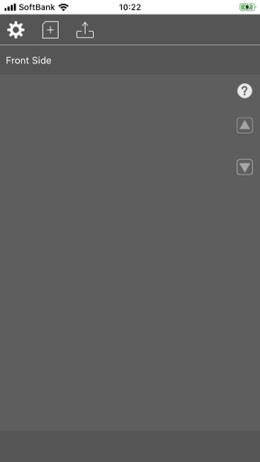
At startup |
||||
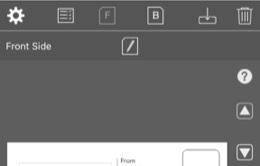 |
Front side displayed / Back side displayed |
|||
Displays the advanced view. You can use the environment settings. |
Create a postcard (postcard template). |
|||||||
Load the saved "postcardCafe Atelier" file. Displays the file open view. |
Create a new address book. |
|||||||
Displays the front side of the postcard. |
Displays the back side of the postcard. |
|||||||
Change the front side information of the postcard. |
Edit the back side. |
|||||||
Address book, postcard information, and sender information are saved. |
Delete address book and postcard information. |
|||||||
Displays this help. |
Displays the previous address. |
|||||||
Displays the next address. |
The address book is displayed. |
|||||||
Print. |
Sharing function can be used. Attach the displayed postcard to an email. |
|||||||
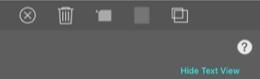 |
Back side edit sheet |
|||
Close the editing sheet on the back side. |
Delete the back side. |
|||||||
Set the direction of the back side. |
Set a border on the edge of the postcard. |
|||||||||||
Set the letter view. |
Photo library and camera can be used. |
|||||||
Displays this help. |
Hide Text View |
Temporarily hide the letter view. |
||||||
When editing text in letter view |
||||
Set the letter view. |
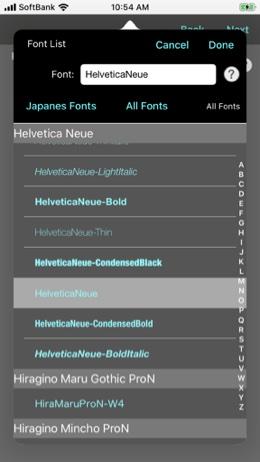
Change the font. |
|||||||
Change the font color. |
Sets the font style. |
|||||||
Set the line as a heading. |
Smaller the font size of the selected character. |
|||||||
Finish editing. |
||||||||
Bigger the font size of the selected character. |
||||||||
When resizing an image attached to the letter view. |
||||
W/H |
Change the width or height and press the Enter key (Return key) |
Close the resize tool. |
||||||
Preview |
Preview the resize result. When you finish image resizing without applying, it will return. |
|||
Apply |
Applies the resized result. Close image resizing. |
|||
Initial startup |
||
 |
||
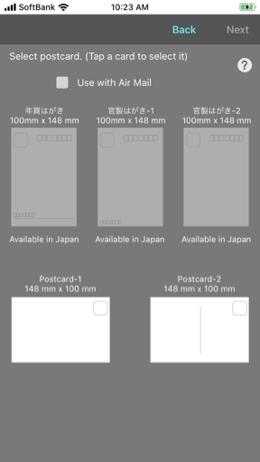
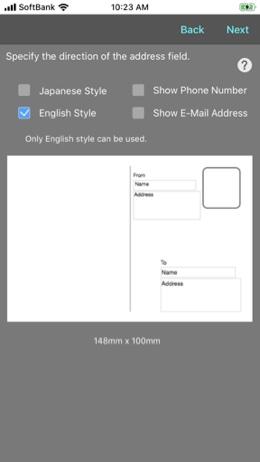
Tap the First, create a card (postcard model). After creating the card, you can not change the postcard type. The direction of the address field, font, sender information can be changed. |
||
Select the desired postcard type. You can select Air Mail. |
||
 |
||
Click the "Next" button. |
||
 |
||
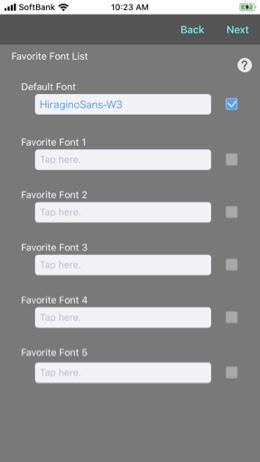
Set the font of characters used in postcards. Register your favorite font using a font list. |
||
 |
 |
|||
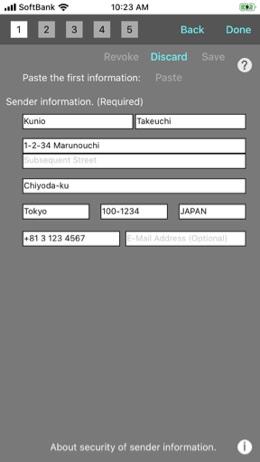
Set sender information. Enter the name of the apartment or condominium in the “Subsequent Address” field. Save Sender Information Apply Sender Information Discard the Sender Information Paste Sender Information |
||
 |
||
The address and name are fictitious. |
||
Copyright © 2022 in-bluesky. All rights reserved. |
||